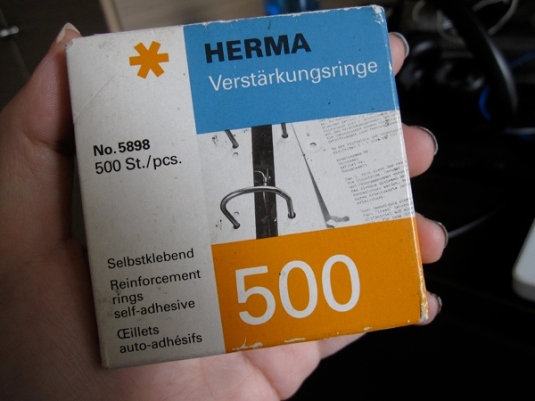
Reinforcement rings are pretty much all you need for the vintage half-moon manicure. That, and a lot of patience. By a lot, I mean if you have at least two hours to spare.
It all started with an article in Urban newspaper talking about two-toned nails. Nail aficionados will know that the real name is called the vintage half-moon manicure, which consists of painting a small portion of your cuticle a different colour from the rest of your nail. It is also sometimes called the reverse French. How hard can it be? I thought.
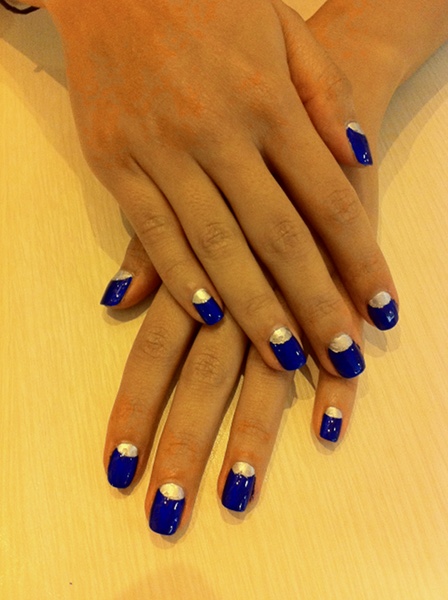
 Barbara’s nails, China Glaze Millenium (silver) + Orly Royal Navy (blue), low light
Well, the first attempt was pretty much a disaster. I didn’t know that you had to wait for the silver to dry completely before pasting on the reinforcement stickers. When I removed them, much of the silver paint came off as well. That aside, I must say that Orly Royal Navy is absolutely stunning.
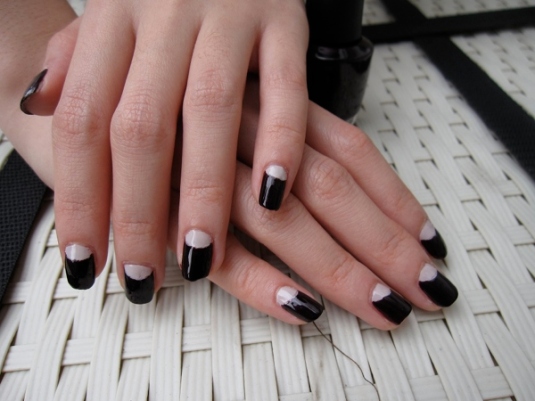
 Maggie’s nails, Essie Body Language (pale purple) + OPI Black Cherry Chutney (dark purple), sunlight
Maggie’s nails turned out a lot better because we had time on our side. I think this colour combination is fabulous; Black Cherry Chutney is a luxurious shimmery burgundy from the OPI India collection. But the lines separating the colours could be cleaner. Perhaps the reinforcement rings were too sticky?
This is what I mean by clean lines. Cheryl handed me this magazine photograph and asked if I could recreate the look. So here’s Attempt #3.
 Cheryl’s nails, NARS Midnight Express (blue) + China Glaze Something Sweet (pink), flash
Major fail. Jagged lines galore. Her mom said that she looked diseased. We spent close to two hours painstakingly doing this and still we couldn’t achieve perfection. Can someone help? If you know the solution, it would be much appreciated.
 NARS Zulu, 2 coats, sunlight
Determined to achieve the elusive clean lines and cut down on the drying time, I decided to free hand the damned moon. Here I started off with two coats of NARS Zulu. I love the way the jelly glows. It’s so shiny you can see my reflection in the nails.
 NARS Zulu (green) + Orly Pointe Blanche (white)
Using Orly Pointe Blanche, which is a white polish meant specifically for French manicures, I drew a curve line near the cuticle first, then filled in the rest of the half moon. The index finger shows the curved line.
 NARS Zulu (green) + Orly Pointe Blanche (white) + Elianto Platinum Pearl (white shimmer)
Et voila! The vintage half-moon manicure without use of stickers. It’s far from perfect but at least I didn’t have to spend hours on this.
Here is a closer look. My least favourite finger is the index because the white blob looks like a lump of coal.
Just noticed that Fann Wong has a half moon in one of her advertisements. It looks kind of weird actually. White half moon over a bare unpainted nail.


Jul 11, 2011 @ 05:26:57
Hey Joyce, it’s Geri–I found your blog on Messenger somehow. Stupid question but do you wait for the top polish to dry before peeling the sticker off?
Jul 12, 2011 @ 08:19:04
Hi Geri!! Wow messenger how did that happen? Ya the bottom polish needs to be completely dry before pasting any sticker on it. Same with peeling. If not you will end up with polish peeling off and jagged moon edges 😦
Jul 14, 2011 @ 11:59:18
They posted it as some update on my messenger page and I was like, “who’s this?” Cool blog! I mean do you wait until the top layer (the second color) is dry before you peel it off?
Jul 15, 2011 @ 07:57:51
Oh I see! It can be semi dry, doesn’t need to be super rock hard dry like the bottom layer. Are you going to try this? Send me pics!
Jul 16, 2011 @ 13:05:11
Yeah I was just thinking that maybe if you left the tape on until it dries fully it might come out neat… I don’t have a theory for this other than it works for paint lol~ I’ll try it!